PRODUCT
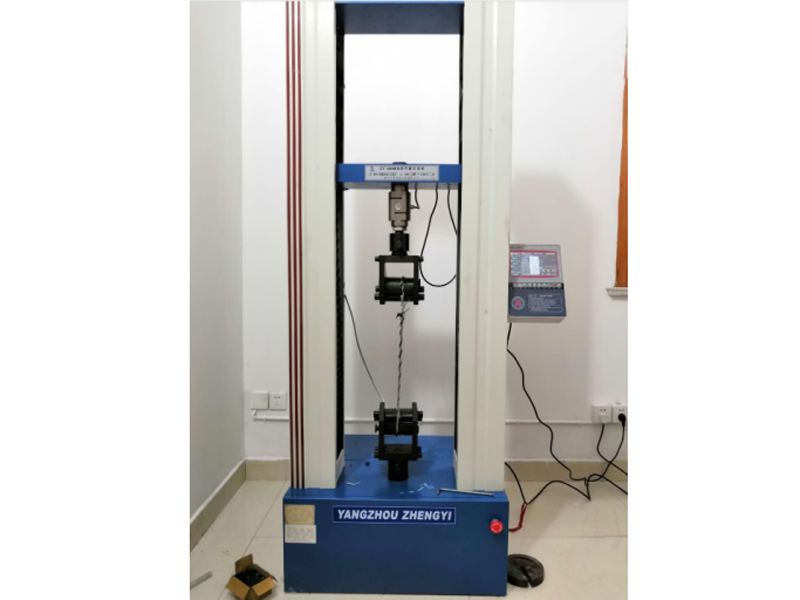
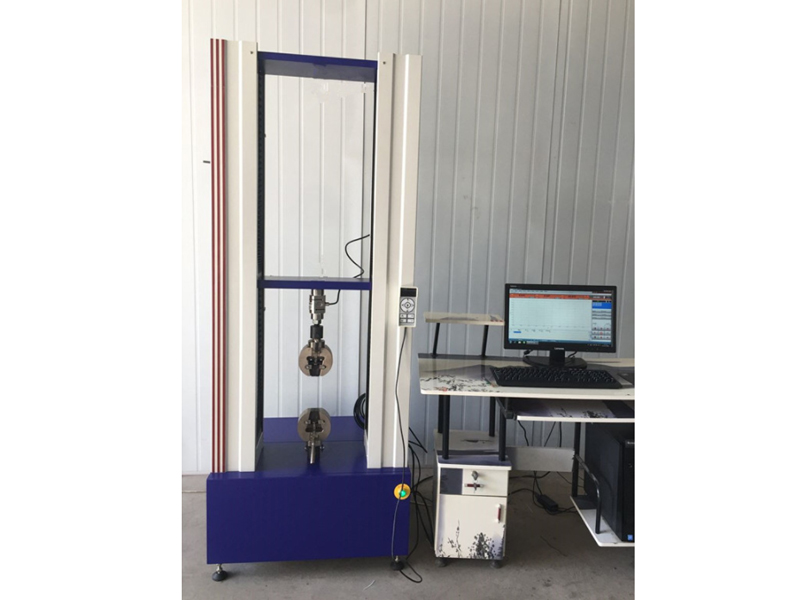
ZY-50kN safety rope belt tension machine
ZY-50kN safety rope safety belt tension machine is an instrument used to test the mechanical properties of materials such as stretching, peeling, tearing, and H extraction. It is widely used in rubber, plastic, textile, chemical, steel wire, hose tape, wire and cable, plastic, pipe and other industries. It is a high-precision, economical and practical instrument.


ZY-50kN safety rope belt tension machine
ZY series safety rope safety belts are used to determine the mechanical properties of various materials such as tension, compression, bending, shearing, tearing and peeling. It can also be used for plate screws, plastics, foam materials, plastics, films, textiles, fibers, polymer materials, composite materials, synthetic materials, packaging tapes, paper, wires and cables, fiber optic cables, safety belts, safety belts, leather belts, Footwear, tape, polymer, spring steel, stainless steel, castings, non-ferrous metals, auto parts alloy materials and other non-metallic materials and metal materials are stretched, compressed, bent, teared, 90° peeled, 180° peeled, Shear, adhesion, pull-out force, elongation and other tests.
Host specifications
A. High-precision joint-venture force sensor: 50kN, and the force accuracy is within ±0.5.
B. Capacity segmentation: Seven gears in the whole process: × 1, × 2, × 5, × 10, × 20, × 50, × 100 using high-precision 24 bits A/D, sampling frequency 200Hz, full force resolution 1/1000, 000
C. Power system: AC servo + servo motor + AC drive + polished rod linear bearing.
D. Control system: Use Pulse Command control method to make the control more precise. Speed control range 0.001~1000 mm/min. The linkage board adjustment has fast coarse adjustment and slow fine adjustment functions. After the test, it will automatically return to the origin and automatically store.
E. Data transmission method: USB transmission
F. Display mode: UTM107+WIN-XP test software computer screen display.
G. Concise linear double correction system for the first gear and precise seven gears throughout the entire journey.
H. The luxurious test interface software can realize constant speed, positioning shift, constant load (hold time can be set), constant load increase rate, constant stress increase rate, constant strain increase rate and other control modes, plus multi-level control modes can meet different requirements Test requirements.
I. Test space: Test width is about 400 mm (standard specifications), and the board walking space is 950 mm (excluding fixtures) (standard specifications)
J. Full displacement: Encoder 2500 P/R, 4 times higher accuracy. LINE DRIVE encoder with strong anti-interference ability. Displacement resolution is 0.001mm. K. Protection device: overload emergency shutdown device, upper and lower travel limit device, leakage automatic power-off system, automatic break point shutdown function.
k. Manual control mode: manual operation box.
Software function:
A. Test standard modularity function: Provide users with the test standard settings required by the application, covering GB, ASTM, DIN, JIS, BS... etc. Test standard specification.
B. Sample data: Provide users with all sample data set by the user, and input data once can be reused. The formula can be modified by itself to improve the fit of test data.
C. Double report editing: open user editing reports, for testers to choose their favorite report format (the test program adds a built-in EXCEL report editing function to extend the previous format of a single report)
D. The length, power unit, and display digits adopt dynamic interchange mode, power unit T, Kg, N, KN, g, lb, deformation unit mm, cm, inch.
E. Automatic Auto Scale of graph curve scale, which can make graph display in proper scale. And can switch dynamically in real-time graphics during testing. With load-displacement, load-time, displacement-time, stress-strain load-2 point extension diagram, and multi-curve comparison.
F. The test result can be output in the form of data in EXCEL format.
G. After the test, it can be automatically archived and manually archived. After the test, the calculation force value, upper and lower yield strength, hysteresis loop method, stepwise approximation method, non-proportional extension strength, tensile strength, compressive strength, and arbitrary point elongation strength are automatically calculated. , Any point fixed load extension, elastic modulus, elongation, peeling interval maximum, minimum, average, net energy, return energy, total energy, bending modulus, break point displacement x% load, break point load X% Displacement, etc. Data backup: test data can be saved in any hard disk partition.
H. Multiple languages switch randomly: Simplified Chinese, Traditional Chinese, English.
I. The software has a historical test data demonstration function.
Summary description:
Clear: After the computer controls the test command, the system will automatically clear;
High intelligence: After the test, the fracture is automatically judged and the fixture automatically returns to the initial position
Multi-function: different fixtures can be replaced to carry out different tests;
Automatic shift: switch to different grades according to the size of the load;
Change speed: the test speed can be changed arbitrarily
Control method: Test methods such as test force, test speed, displacement and strain can be selected.
Powerful: Record test dat


Previous page
1
Next page
Yangzhou Zhengyi Testing Machinery Co., Ltd.
Service Hotline:
Add:
Address: Zhenxing North Road, Zhenwu Town, Jiangdu District, Yangzhou City, Jiangsu Province
Copyright: Yangzhou Zhengyi Testing Machinery Co., Ltd. 苏ICP备14021115号-4 Powered by:www.300.cn


